|
Rasterization-DiscoBall
|
|
Rasterization-DiscoBall
|
Project: 7-Rasterization
Team: Disco Ball (Kyle Cheng & Kai Wang)
Date: November 11, 2014
Our initial art direction was motivated by the following image which appeared in last week's report: http://www.techulator.com/attachments/Resources/6043-28242-Cubemen1.jpg
 |
| original direction |
Therefore this week we tried to clean up the colors that we used for the objects in our game to meet that ideal. We also wanted to use a more complex model for the enemy as inspired by this image: http://static.giantbomb.com/uploads/original/4/45407/1362594-zergling_sc2sprite.jpg
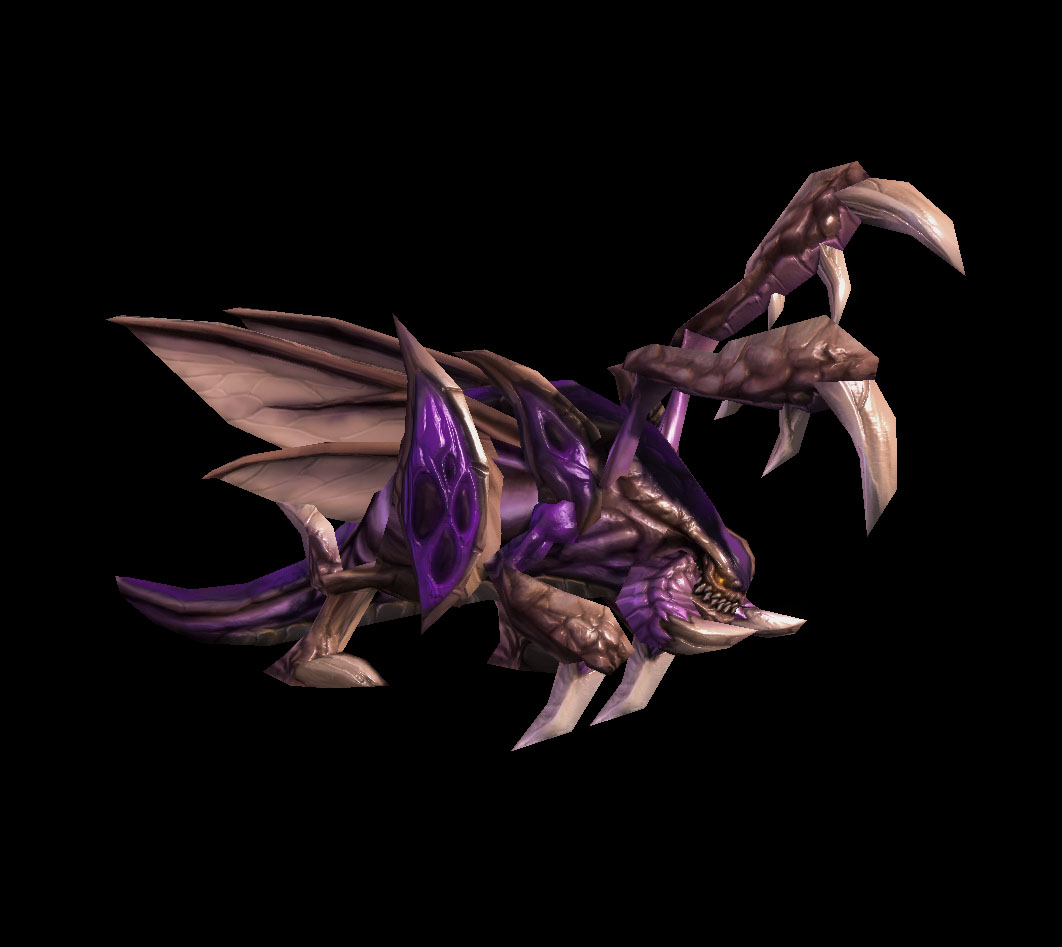 |
| Enemy idea |
 |
| Our Attempt |
As we worked on our project this week with those images in mind, we began to slightly alter our art style. While we still liked the simplistic art style of the above image, we also liked the dark and moody atmosphere of Tron. We saw the dark geometry and the bright neon lights of the objects in Tron to be a step up from our simple geometric game.
Example Tron Image:
 |
| Tron Inspiration 1 |
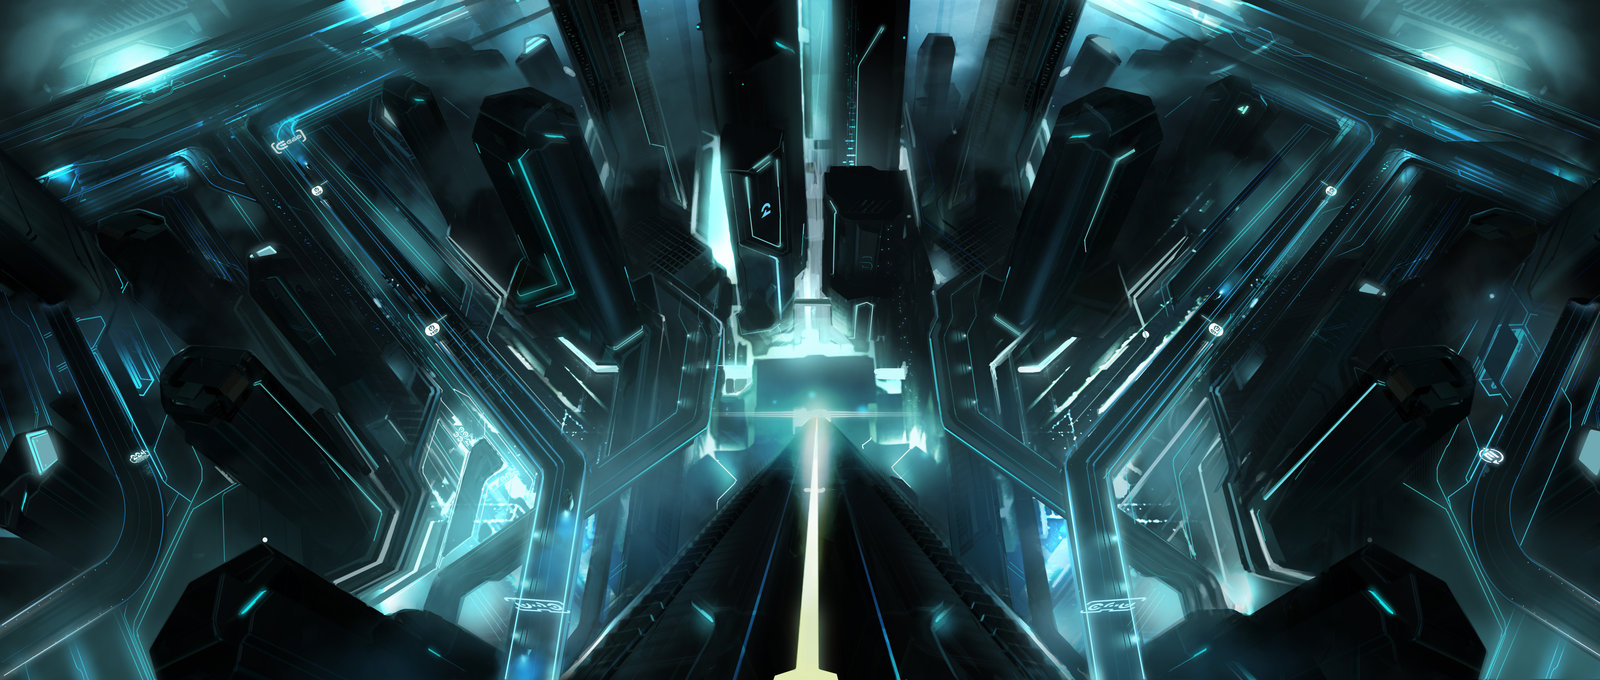 |
| Tron Inspiration 2 |
Source: http://fc06.deviantart.net/fs71/f/2013/097/0/1/tron__legacy_style_wallpaper_by_inityx-d60ru17.png and http://fc02.deviantart.net/fs71/i/2011/031/a/3/tron_legacy_under_the_tower_by_vyle_art-d3878ux.jpg
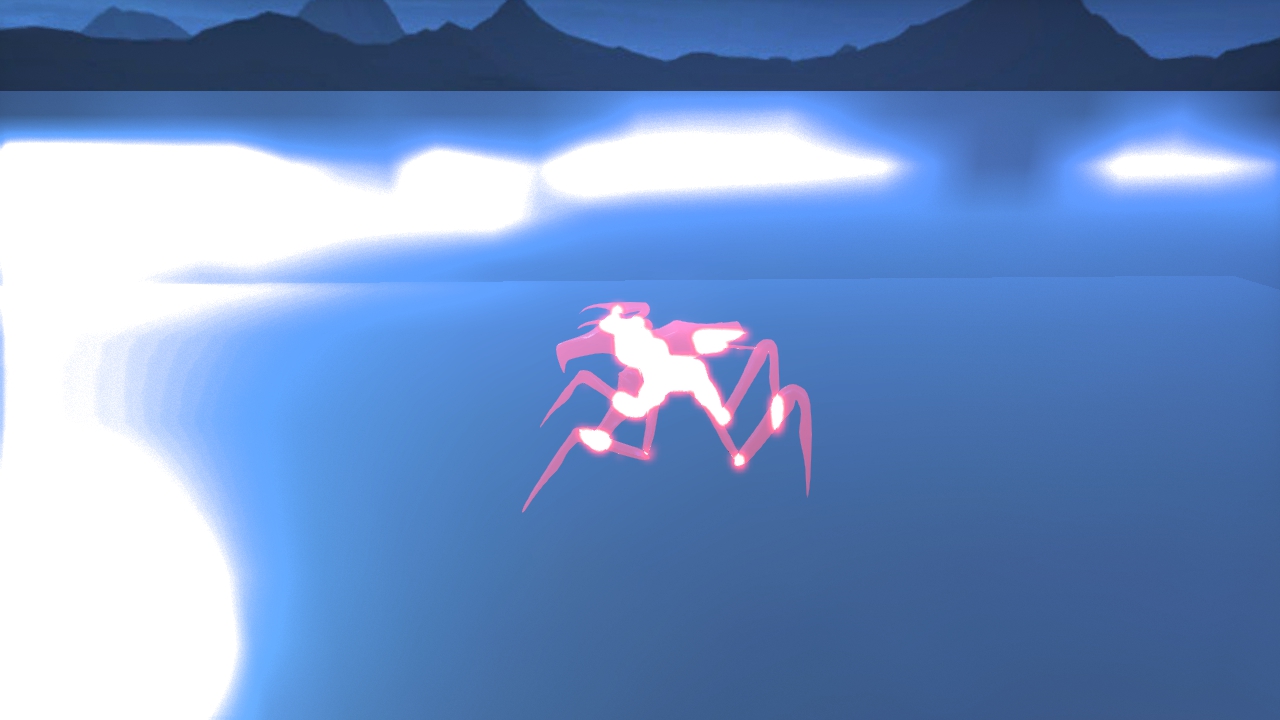
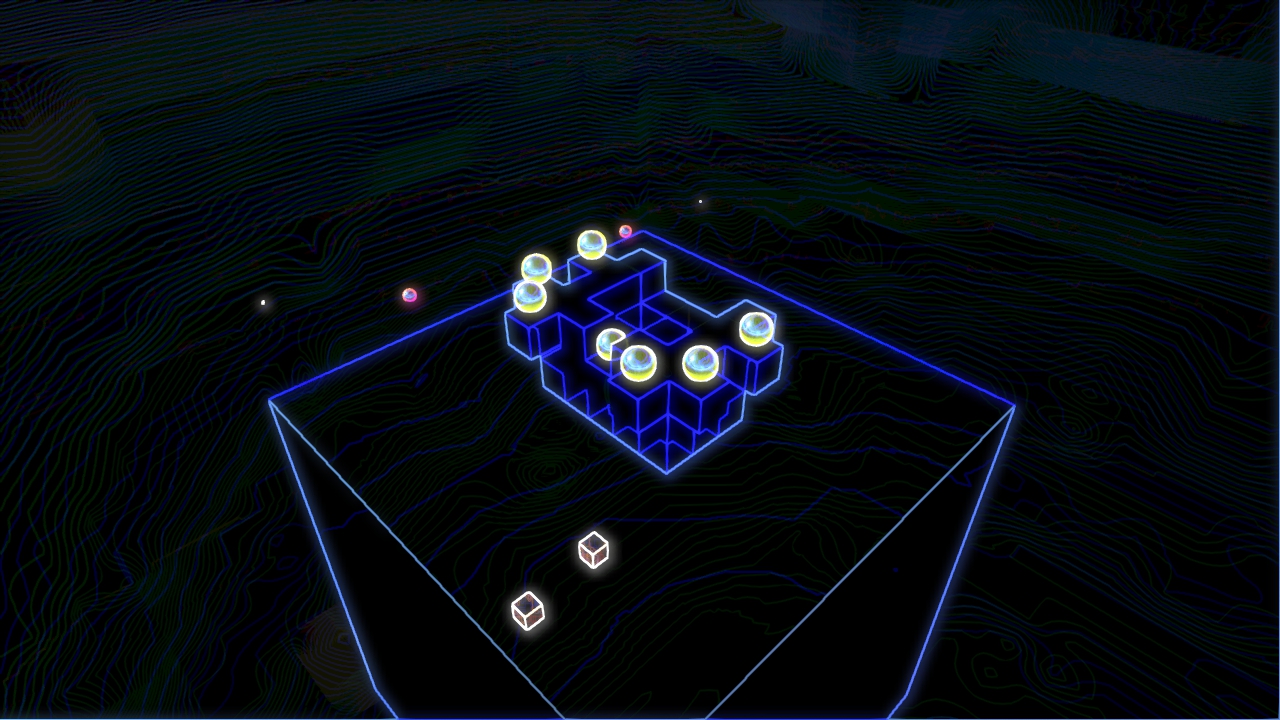
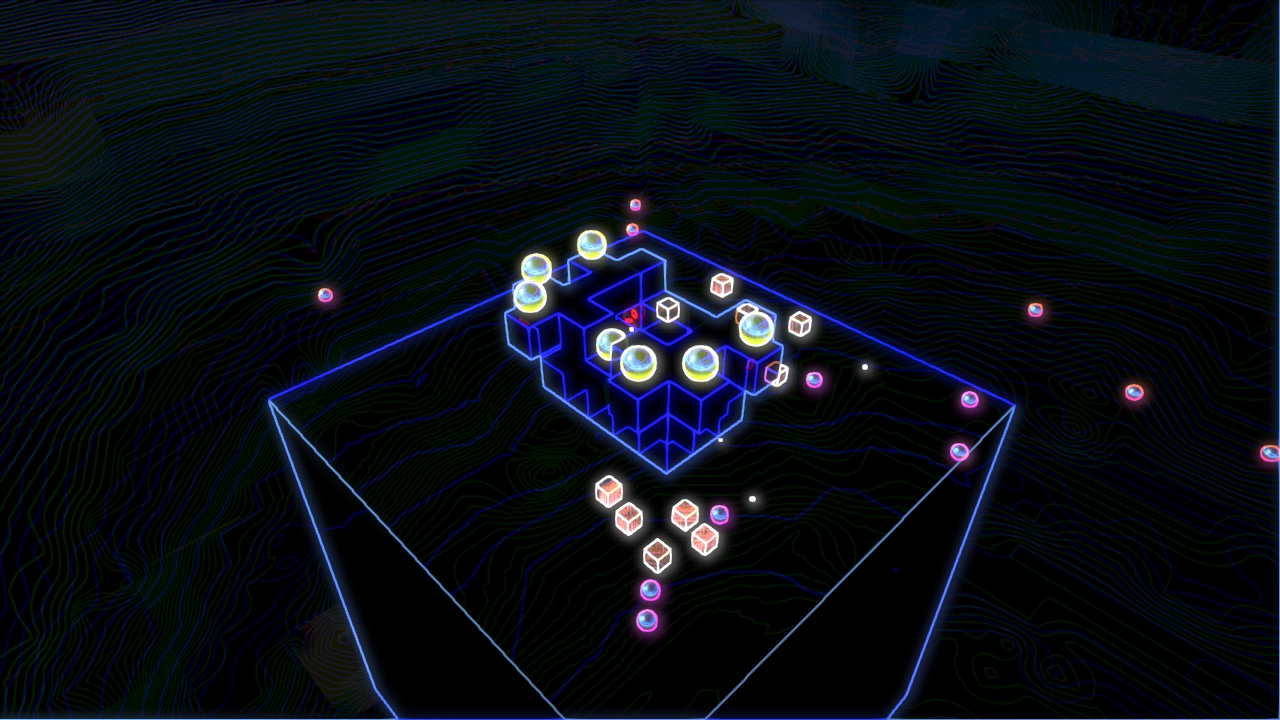
Therefore, our art direction tried to emulate the style of Tron. We kept the geometric objects and stuck with the 3d primitives we used for the walls, towers, and enemies from last week. However, in keeping with Tron's art style, we hoped to have the dark 3d primitive outlines be accentuated by bright neon lines. We achieved it through a pixel shader which made the faces of the primitives largely black, but made the outlines stand out and appear bright. In further keeping with a Tron - Cyber look, we also made the explosions look non realistic. Instead, a dying enemy explodes in a hail of bright and fiery cubes, like one would expect a virtual computer virus to die. Therefore we were both inspired by Tron's art style and also slightly by its setting (ie. having the game take place in a computer where viruses are actual 3d objects, etc).
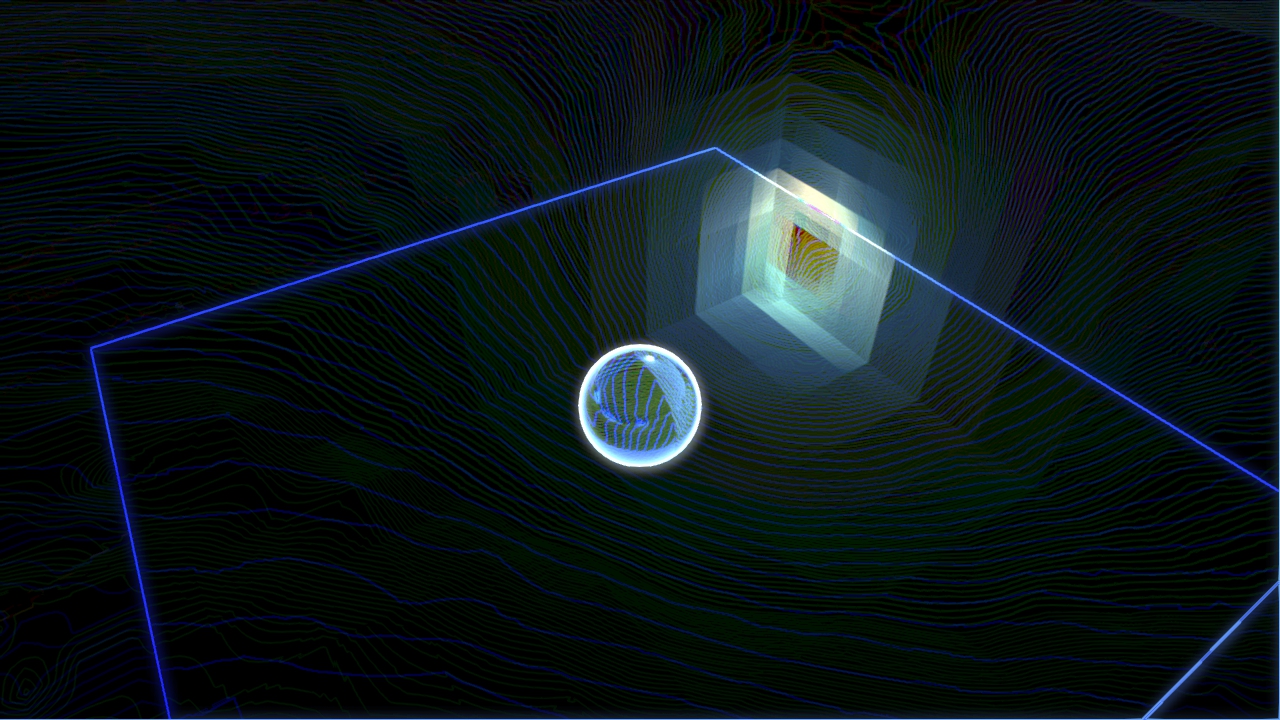 |
| pixel sky |
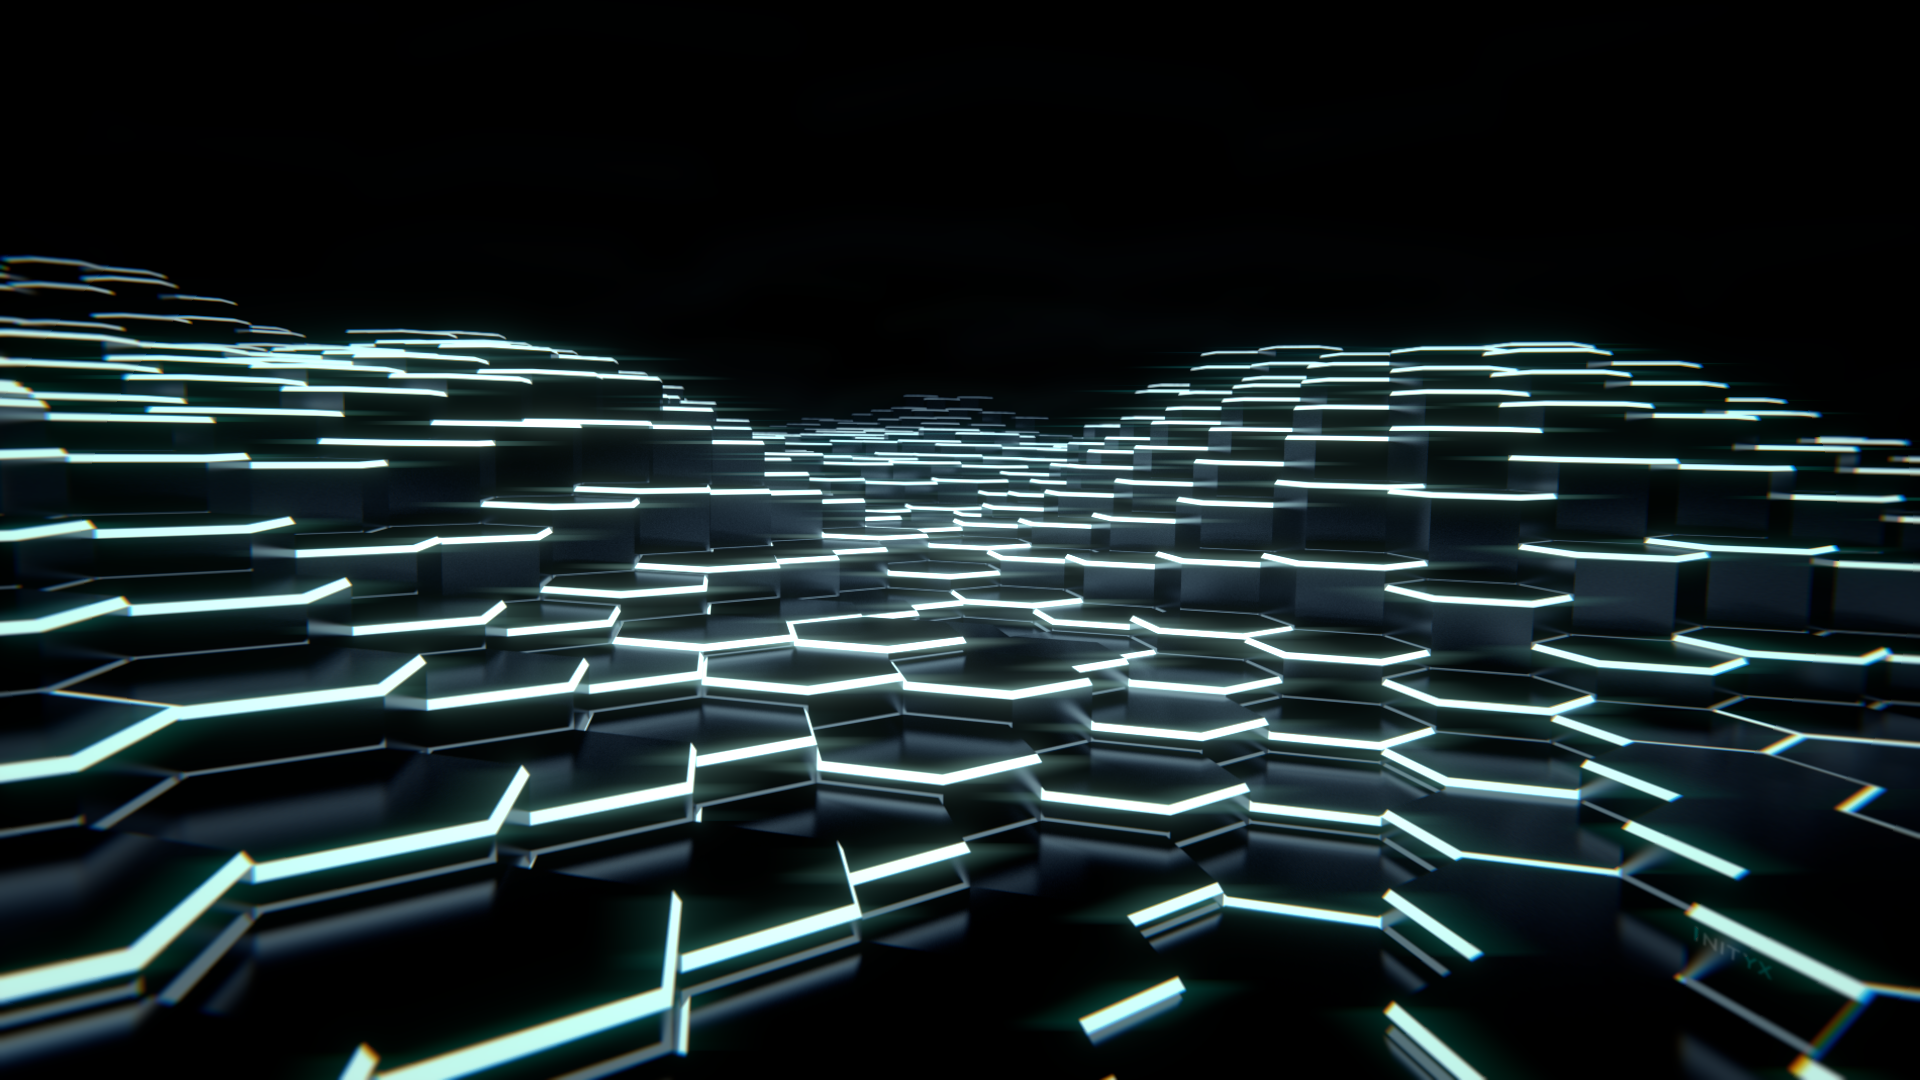
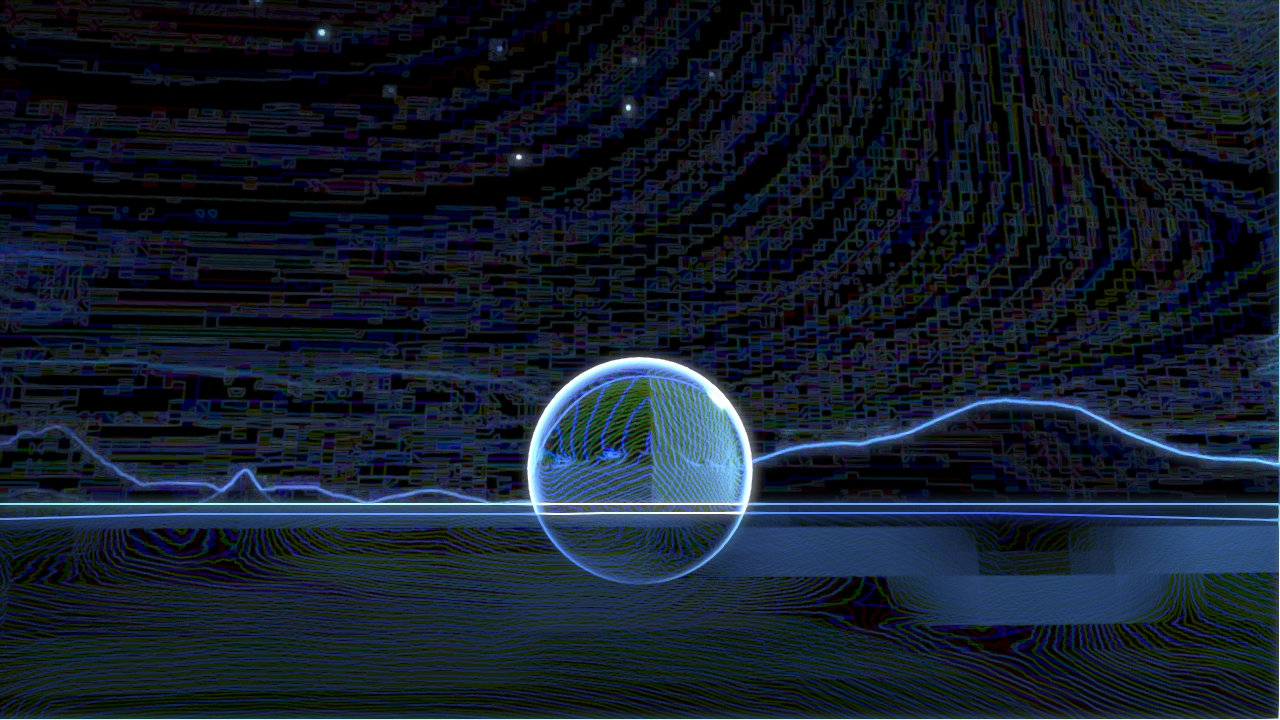 |
| pixel world |
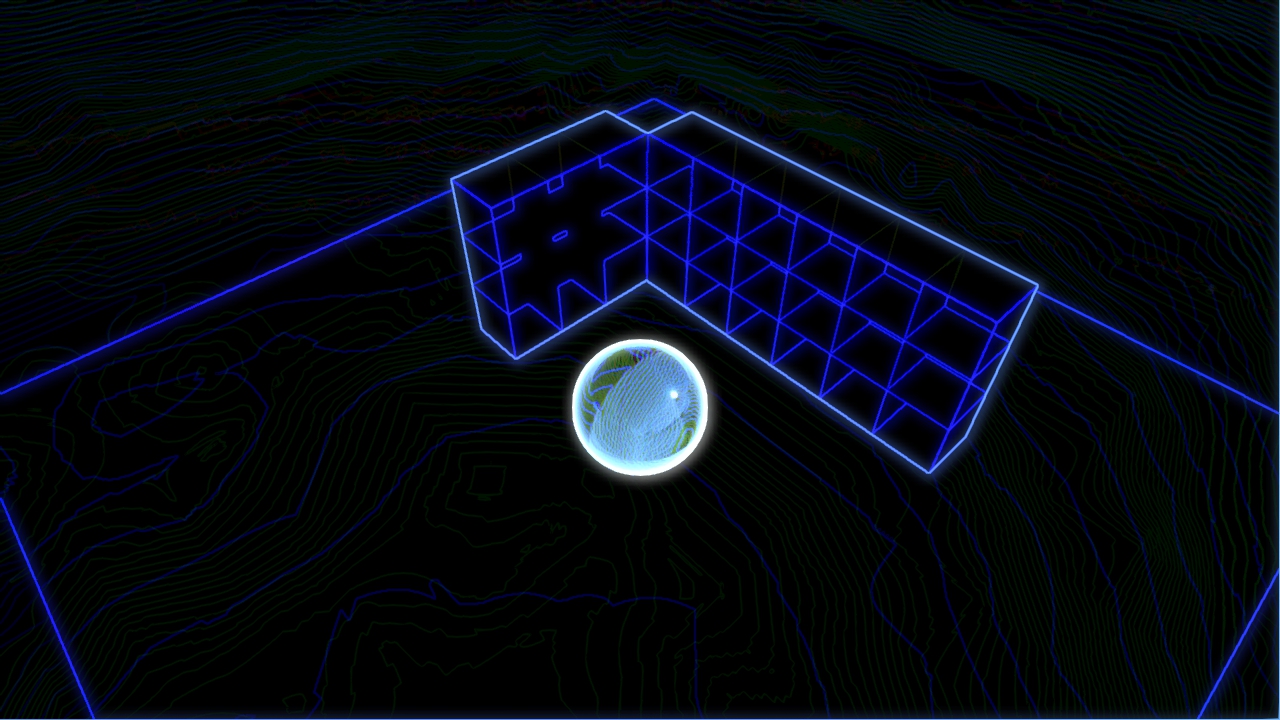 |
| tron-like objects |
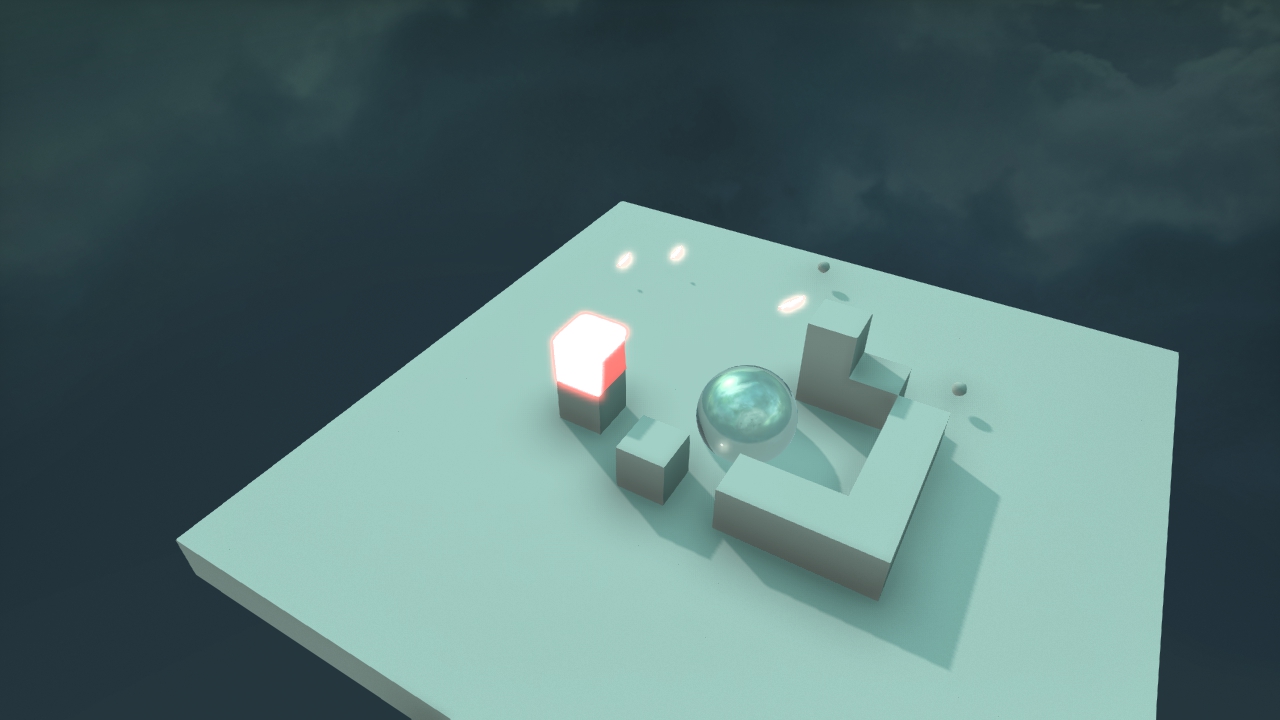
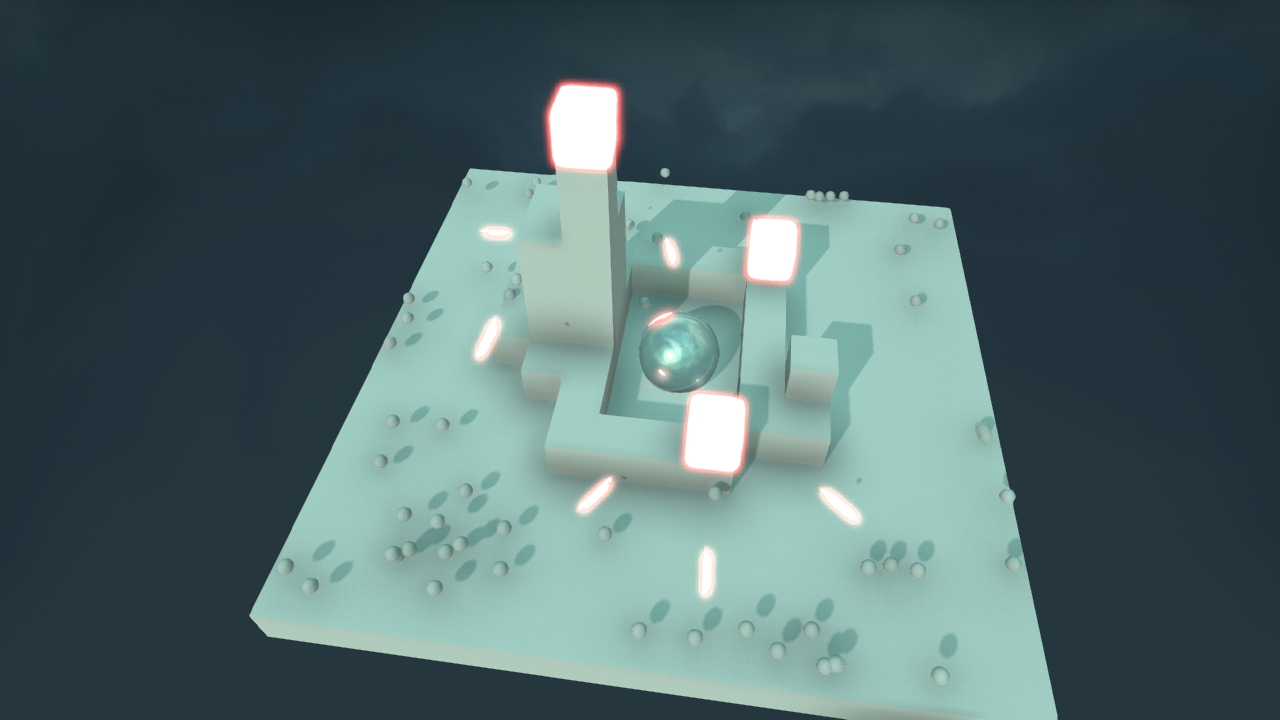
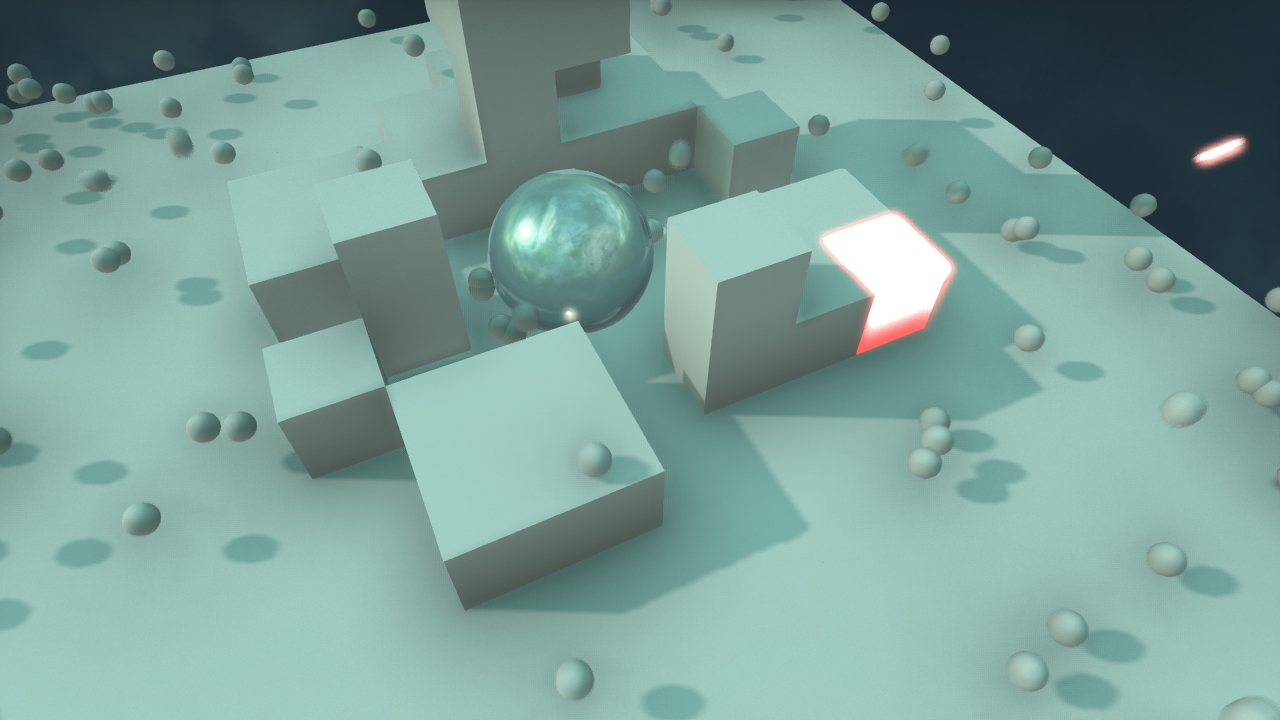
In addition to that, we had an additional twist on the Tron art direction by mixing the "virtual" tron world and the "real world". By interpolating between the result before and after the pixel shader based on the current HP, we achieve the effect that as the user loses, the world reverts back to reality - ie. no shader. Lastly, we also include the effect that as soon as the Disco Ball is attacked, there will be a biref "flash" back to reality.
 |
| Initial World |
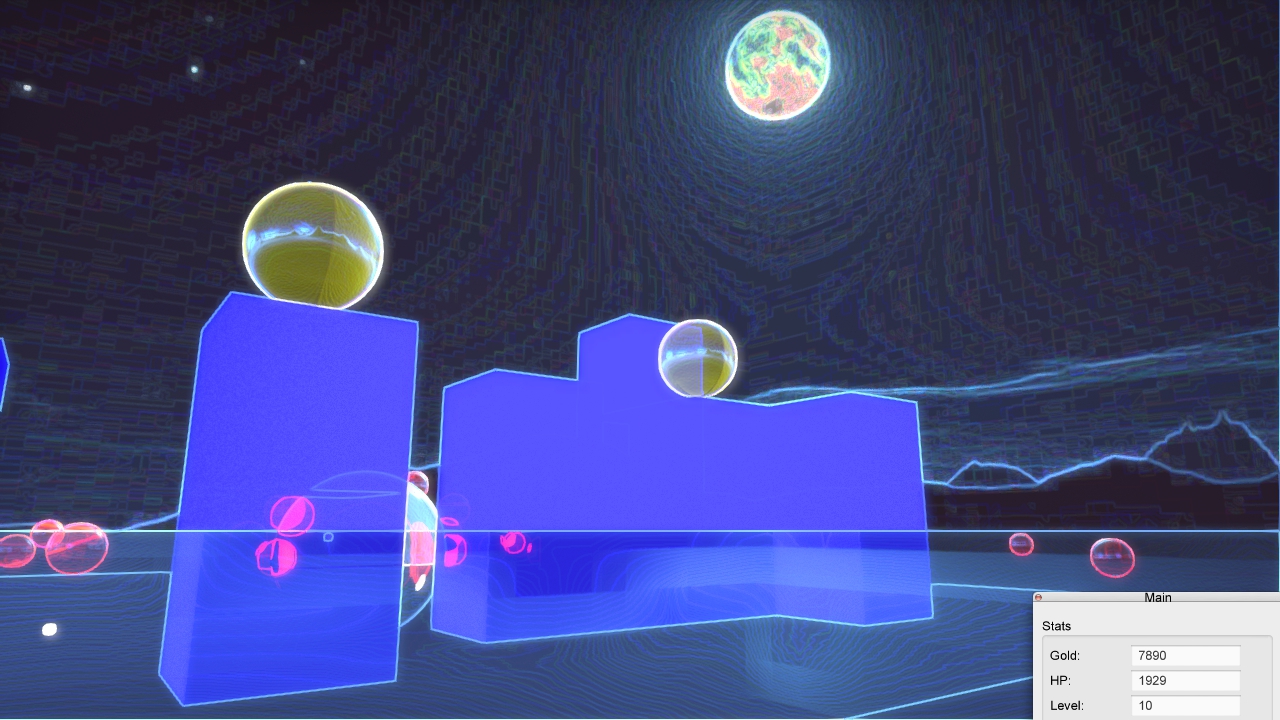 |
| Starting to Change |
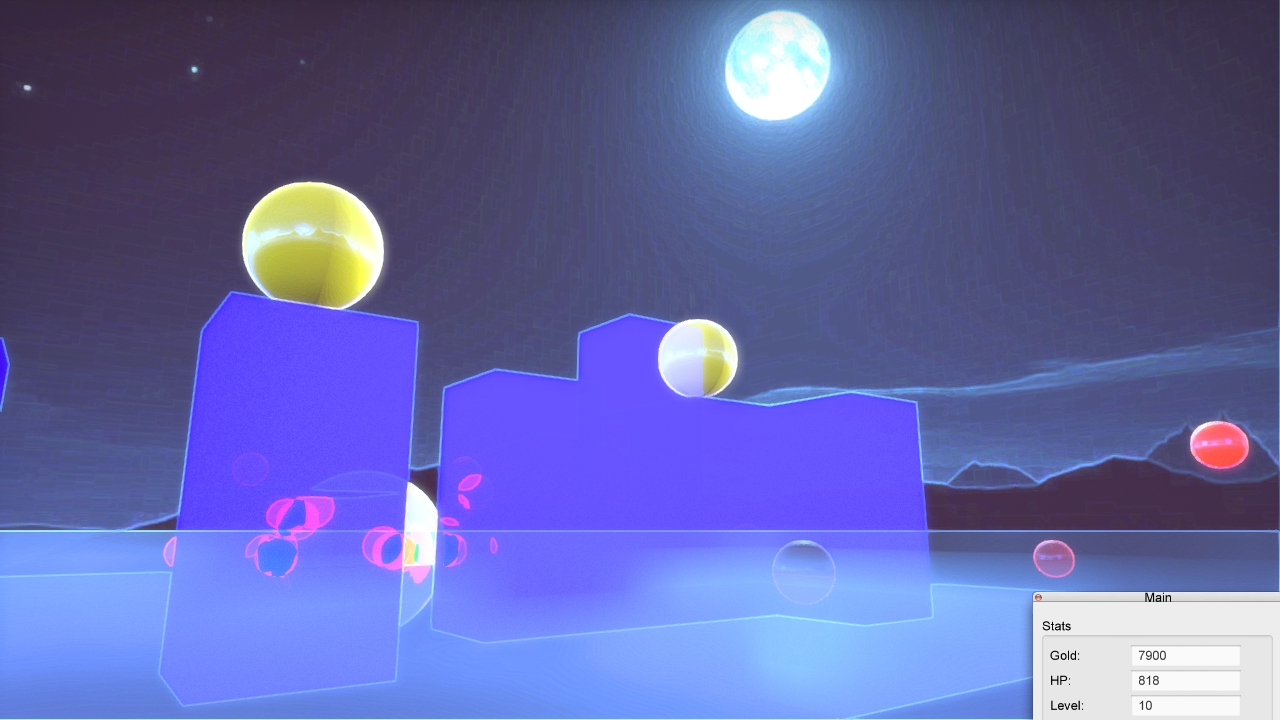 |
| Close to Reality |
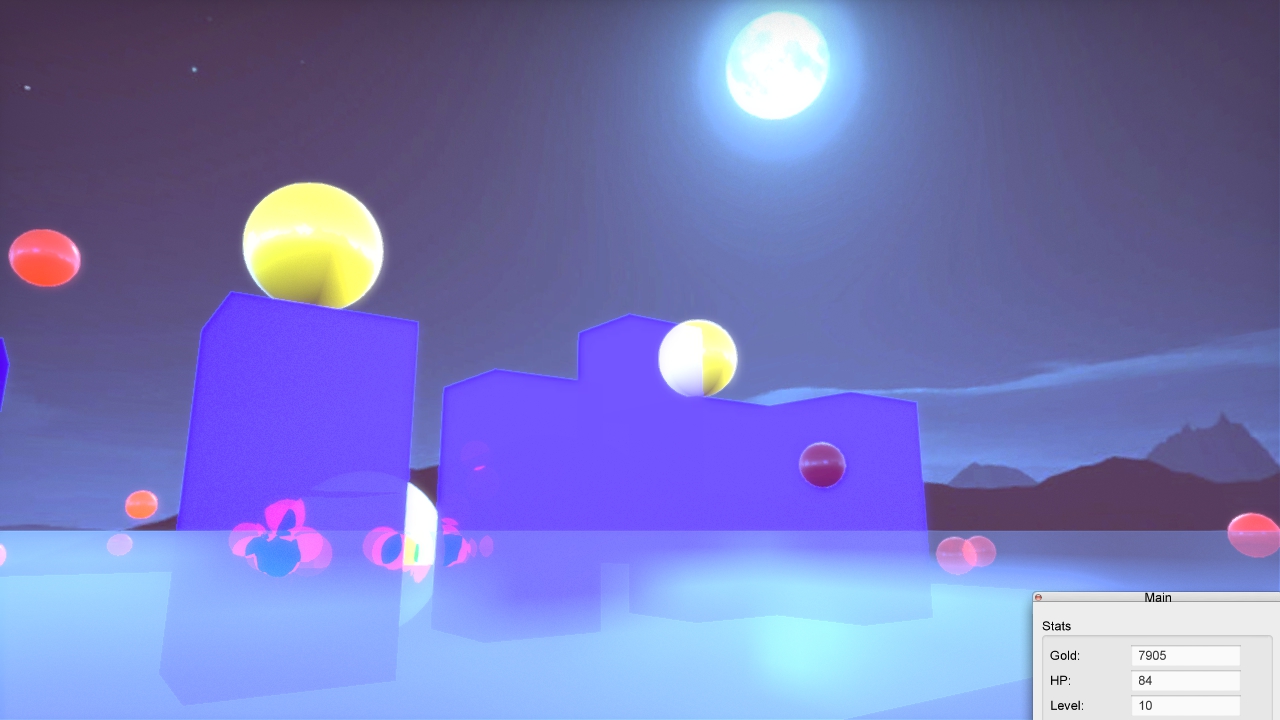 |
| Back to Reality |
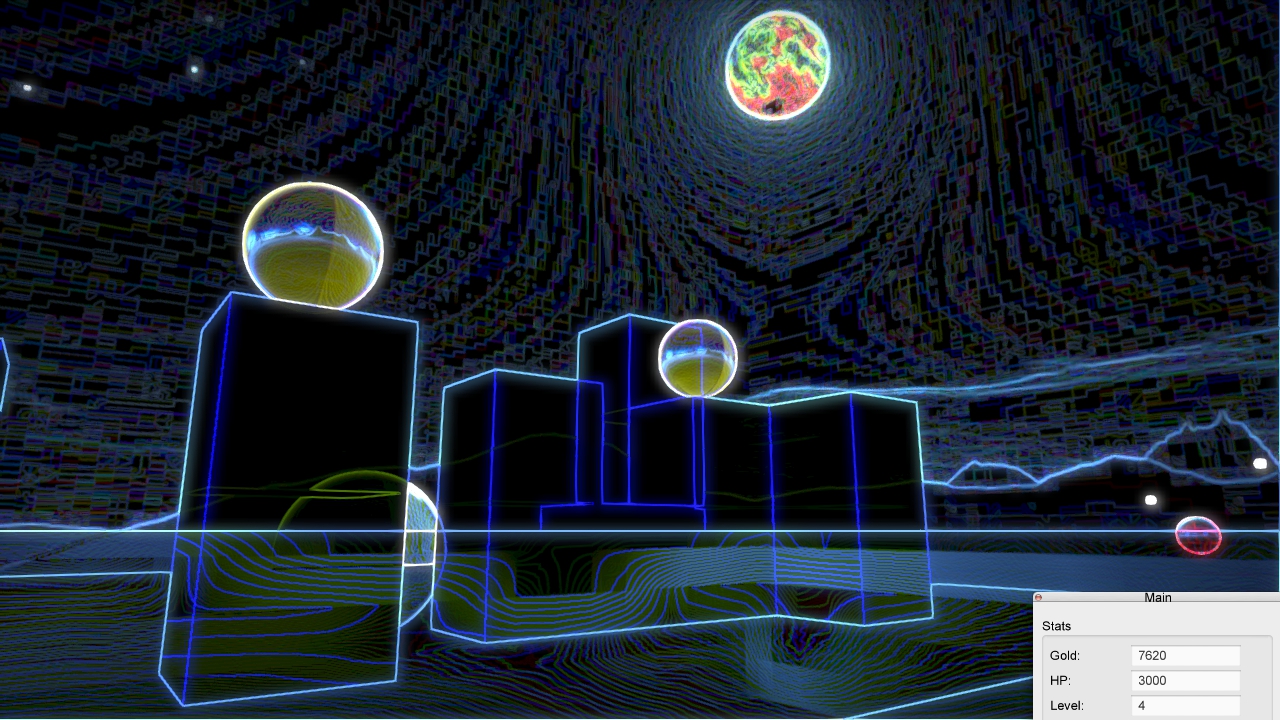
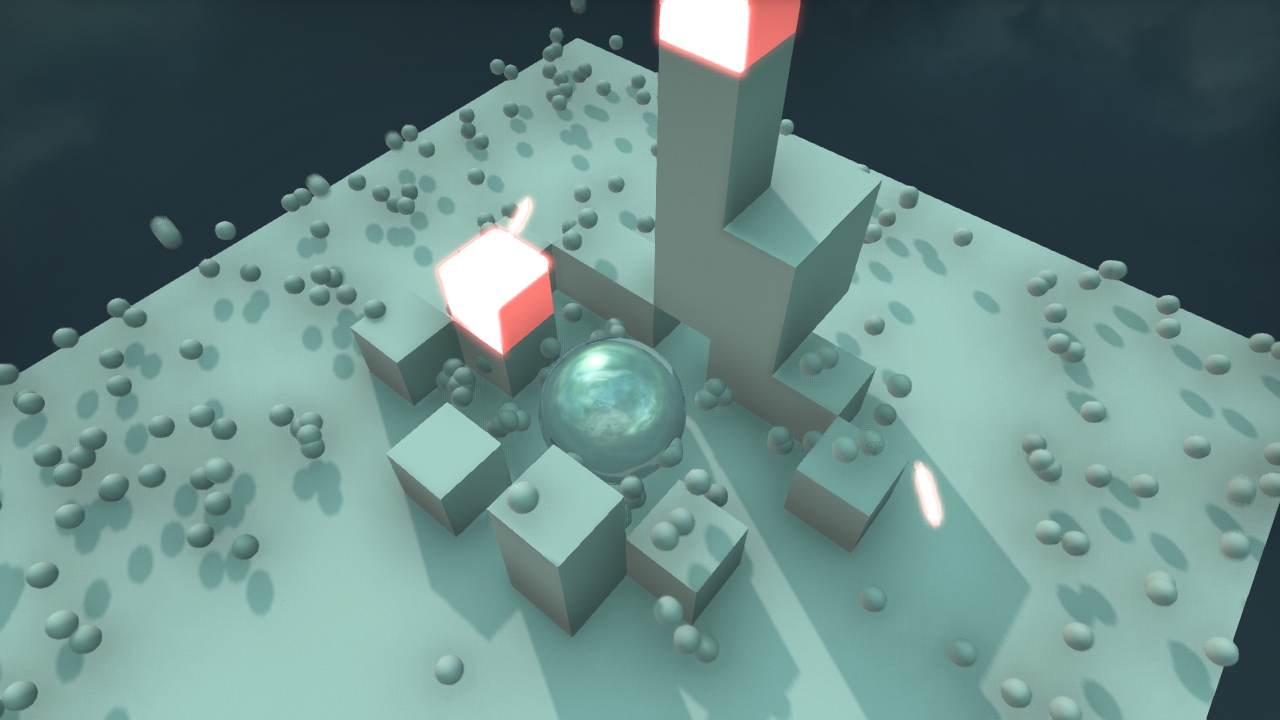
In terms of relating art style with gameplay, our art style helps gameplay by increasing the overall color contrast in the game. Now towers are bright yellow, enemies are bright red, and cubes are bright blue. This helps the user compartmentalize what each object does in the game. It is now clear that red objects are bad, yellow objects help defend, and blue objects help slow down the advance of the enemy. The dark and bright color contrast also helps to emphasize the presence of objects (as much as a glowing object in the darkness attracts your attention) to make gameplay smoother and to help distinguish the actual gameobjects from the environment.
 |
| red=enemy, blue=cube, yellow=tower |
Our visual improvement work can be divided into two main categories. Color palette, and object animation and Shader.
We worked on changing the color balance from the more bland white color of last week's lab to a tron like look. In technical terms, we added in transmissive preprocessing to the materials for the objects.
We also worked on improving the enemy death and hurt animations. We added in an Animation.cpp class that takes in a VisibleEntity and manages that entity's movement. We created a method that creates several Animation, and sets their respective velocities to random vectors away from a single point. The Animation are created in VisualControl.cpp and animated in VisualControl's step method which is continuously called in App.cpp's inSimulation step. The velocity is decreased over time. Whenever an enemy dies, we call this function which then creates these Animations which simulates a sort of pixel like comptuer virus death explosion. We also made a tweak to how enemies react to shots. They now "flinch" whenever they are hit.
After the normal G3D rendering pipeline is completed, the resulting texture is passed to our post-processing shader, which helps bring our art style closer to Tron's by making the outlines of objects bright and the surfaces of objects dark.
Our shader is basicly an incomplete edge detector using Sobel operator. It samples the closest 8 pixels (a 3x3 Grid), and uses the standard Sobel matrices to calculate the horizontal and vertical derivatives and combine them to find the gradient. However, instead of applying a threshold to the result to get the edges, we use the gradient as the final result. By keeping the RGB values, we get color edges (here blue as all the models are blue-ish). A lot of artifacts e.g. random "edges" on a glossy sphere and the emissive skybox, help to create the cyber-style grids and lines, though normally those artifacts should be removed using other means (e.g.look into the depth buffer). In conclusion, we achieve the effect we want by intentionally make an incomplete edge detector.
Then, we need to interpolate between the "real" and "virtual" world. This is achieved by passing the HP into the shader as an argument. The shader simply interpolates between the original pixel value and the edge-detected value to produce the final output. Moreover, in order to achieve the brief flash when attacked, we keep track of the attack status in App.cpp. Whenver the Disco Ball is attacked after being safe for a second, we passed a third value into the shader to manually set the result to be the unfiltered one.
It should be noted that shader alone is insufficient to achieve the effect, to have the optimal result, we changed the glossiness and transmissiveness of our models until we get a satisfactory result.
The user places cubes and towers in order to prevent the enemy spheres from destroying the disco ball in the center of the map. The user places a cube by left clicking on the ground and tries to create structures that will best defend the discoball and kill off the enemy. The enemy can destroy the towers and cubes that the user places. Also, when towers fall down they take damage meaning that tall towers with lots of shooting towers on them can result in a large loss of shooting towers when the ai attacks it. The ai behave differently. Some of them try to race towards the disco ball destroying anything that gets in the way while others try to destroy any blocks that come in their way, thereby clearing a path for other ai to attack the discoball. You get gold for killing the enemy. This week we expanded on mechanics to make the game more balanced. We reduced the amount of money the user gets and made it so that the user has an indefinite amount of time in the beginning and a lot of gold upfront so that they can build a base early on. We reduced the gold income rate so that users wouldn't be able to create massive tower spams like they did last week. We also made the towers less powerful so that they can only shoot in one direction now. Ai also becomes stronger over time. The end result is a much harder game that no longer becomes incredibly easy as time progresses.
 |
| Start |
 |
| Mid |
 |
| Enemy breaking through! |
 |
| Dead... |
In addition to last week's stuff, We decided to create an actual camera controller this week so that the user would not be forced to use the debug camera. When the user clicks on a and d, we rotate a 2d point around the center and then transfer that point to the camera's x and z positions. When the user clicks on w and s, the distance of the 2d point to the center is decreased thereby allowing the user to zoom. Lastly, when the user clicks on z and c the y position of the camera is increased. This feature was added as we realized that most of our camera movement was simply rotating around the center point to begin with!
We attempted to separate the graphics and the abstract representation of data.
The class Map handles the abstract representation of data. It uses a 3D array to represent the map in a grid. Four pieces of information is stored: the occupancy of a specific grid (indicating if it is possible to move an object to that specific grid), if the grid has a box (to implement box gravity), the AOE damage dealt on the grid by the attackers and lastly, the AOE damage dealt on the grid by the defenders.
Apart from that, Map also stores an array of current MapElement on the map. An MapElement is an abstract of something in the map, it can be a Cube (defenders) or a Creature (attackers). Specific cubes/creatures then subclass from the two classes. All MapElement holds information abouts its location on the map as well as informations such like its current HP value. Moreover, it also keeps track of the VisibleEntity it corresponds to in the scene.
Everytime App:onSimulation() is called, it fetches a list of changes of VisibleEntity by calling Map::getChange() and send that to VisualControl, so that the positions/status of the VisibleEntity could be updated. Map::getChange() calls the MapElement::run() method of each MapElement. MapElement::run() checks MapElement::turnsLeft to see if the MapElement have finished its turn; if, then MapElement::move() is called to carry out the next action. Possible actions include moving into a different place, attacking a grid or attacking a specific creature. After all the MapElement runs, the MapElement::updateHP() method is called to update the HP value of each element. If HP is less than zero, the MapElement is removed from the Map. To sum up, we are able to update the condition for every VisibleEntity in the scene by requesting change information from Map, which in turns get changes from each MapElement. (See the documentation for Map and MapElement, which contains virtually all information needed to reproduce them / create a new subclass)
Another important concept is the use of G3D::AABox. For each MapElement, there is a corresponding G3D::AABox. The aaboxes for raycasting are managed by the AABoxManager.cpp class. This class provides helper methods such as AABoxManager::getRayHitElements() and AABoxManager::getClosesteElement() which are used by BasicTower.cpp to find which enemies it can actually shoot at.
More importantly, AAboxes allows interaction. Everytime a user does some action, App::onUserInput() responds to the input, find the position of the cursor in the 3D-space, and casts a ray towards all the AABoxes. By getting the colliding AAboxes, we are able to figure out the cube the user is pointing at, and add/change cubes based on the computed position.
▶ Play Video |
| Trailer |
▶ Play Video |
| Gameplay Video |
Thanks Devin and Diwas for showing us how to add sounds.
Thanks Juan and Jenna for helping us with setting up post processing shaders.
▶ Play Video |
| Trailer |
▶ Play Video |
| Gameplay Video |
See our Development Journal .
 1.8.7
1.8.7

